Lesson 2: Register the App as an Event Provider
After you have set up your integration and collected the information, you can start to set up your event provider.
Use CLI to create provider, eventmetadata and webhook registration
Be sure you the Adobe I/O Events CLI Plugin is installed, and then run these commands:
Copied to your clipboardaio console org listaio console org select <orgId>aio console project listaio console project select <projectid>aio console workspace listaio console workspace select <wkspId>aio app useaio event => this will list all the commands for events.
Register the event provider
After selecting the org, project and workspace, start to create the registration.
Copied to your clipboardaio event provider create
Fill in the requested information, and the terminal will show you the provider ID. Once you have successfully created the provider, copy the provider id for use in the next steps. Now we can create eventmetadata:
Copied to your clipboardaio event eventmetadata create <provider id>
CLI will prompt you to input the label and event codefor the eventmetadata.
Now create the registration:
Copied to your clipboardaio event registration create
The terminal will display a sample of JSON format with the information needed to create a new event registration. Copy it, create your own .json file, fill in the details and use it.
The event provider is now registered.
Another option for registering an event provider is to run the javascript code available here - just fill in the .env and run npm start .
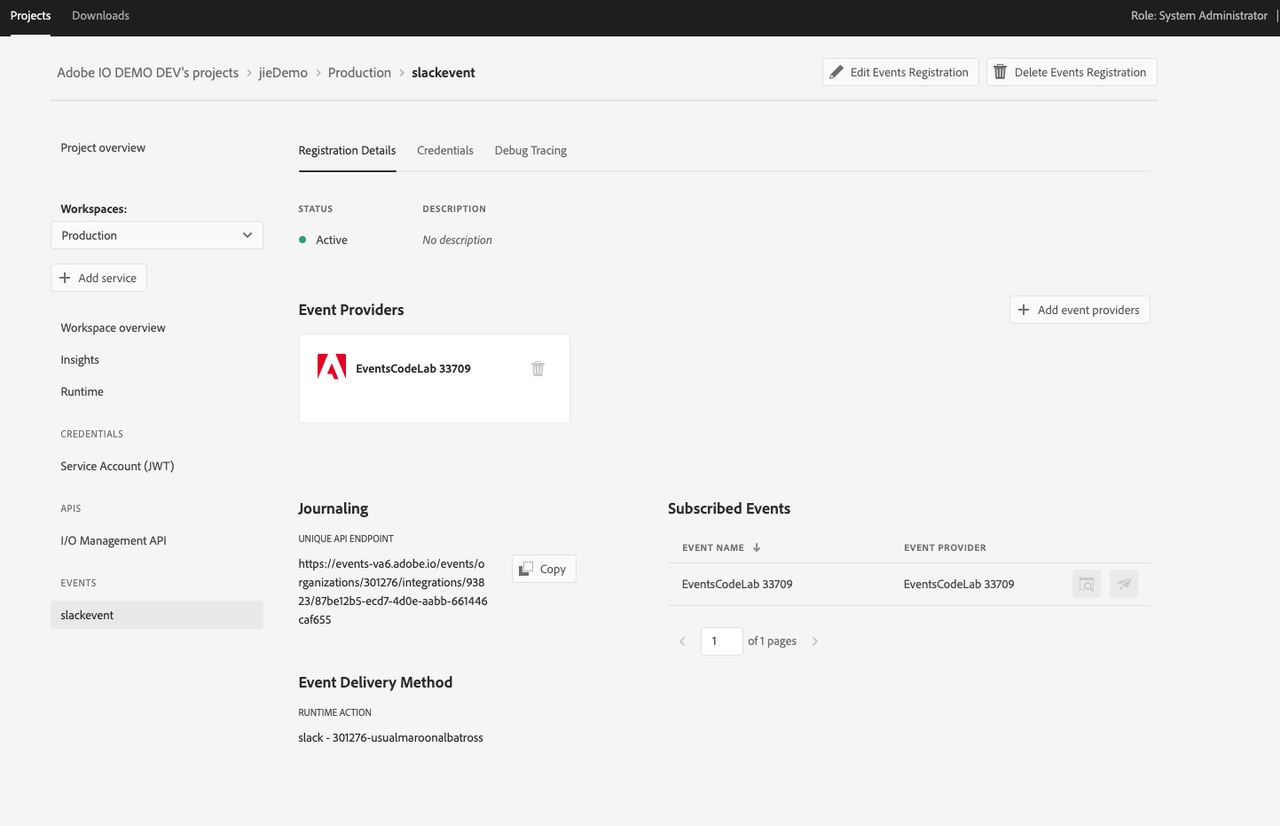
Check your result on Console
After using the events CLI plugin to create an event provider, you will see your event provider registrated in console and your journaling endpoint.

Note: You will need your event provider id and event code from this lesson to fire an event in the next lesson:


